systemc-2.3.1.tgz) from http://www.accellera.org/.2. Untar the downloaded file to the directory where SystemC is to be installed.
e.g.
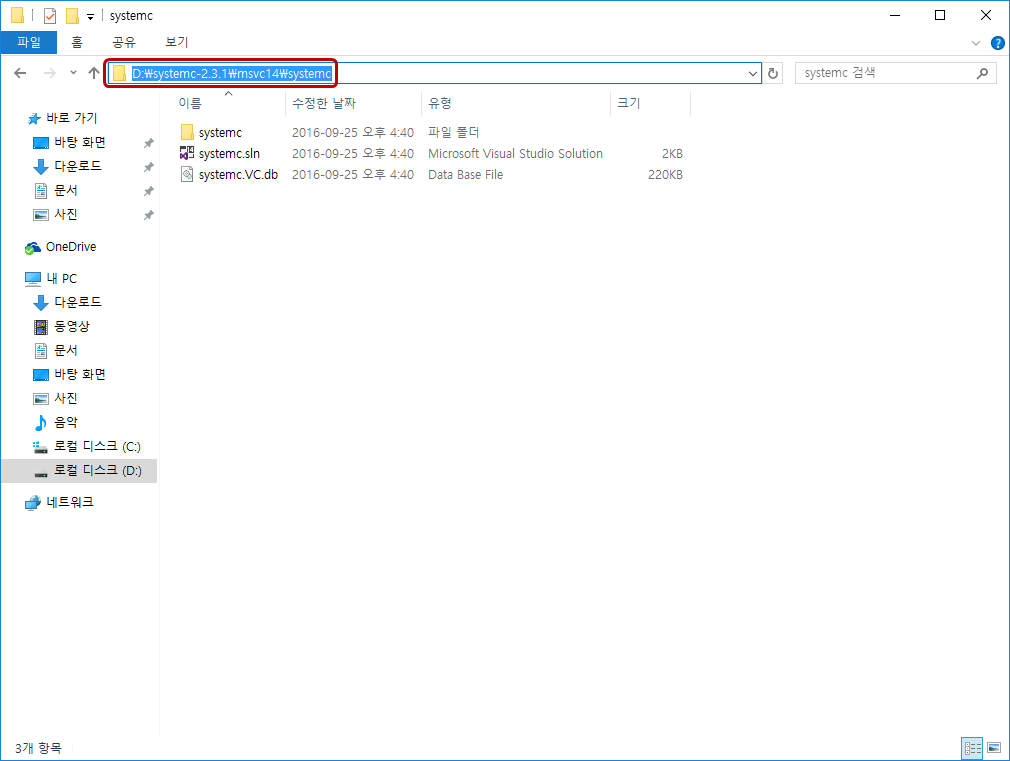
D:\systemc-2.3.1
3. Make a directory
msvc14 and create a "Static library" Visual Studio 2015 project, systemc, under it.
4. Add the source files (
*.cpp and *.h) under src directory and below (except those under src\sysc\packages and src\sysc\qt), to the systemc project.(Use "Add → Existing Item" in Visual Studio. Alternatively, drag-and-dropping from Windows File Explorer to the Solution Explorer in Visual Studio also works.)
4-1. In my case, I temporarily moved
src\sysc\packages and src\sysc\qt directories to outside of the SystemC directory hierarchy. Then I searched for *.cpp and *.h files under src directory in Windows File Explorer. Finally, I drag-and-dropped the searched file into the Solution Explorer in Visual Studio and moved back the two directories to their original locations.5. Add
src directory to "Additional Include Directories" of the systemc project.
6. Set "Enable Run-Time Type Info" of the
systemc project to "Yes".
7. Add
/vmg to "Additional Options" of the systemc project.
8. Modify the
src\systemc.h file using a text editor (e.g. Vim) as below (Comment out the line, std::gets):
9. Modify the
src\sysc\packages\boost\config\compiler\visualc.hpp file as the following (Comment out the version check):
10. Build for both Debug and Release configurations.

11. The results from the regression tests provided in http://www.accellera.org/ are shown in [this article]. In short, I think in general, if the SystemC datatypes that failed the tests are not used, this installation acts as expected.